Announcement

Collapse
No announcement yet.

1973 crewcab

Collapse
X
 
  • Filter
  • Time
  • Show
Clear All
new posts

  • #31
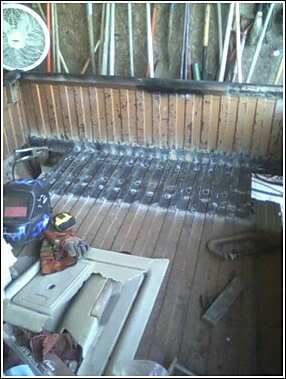
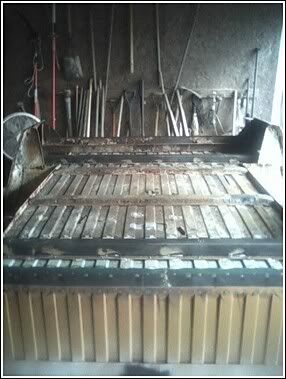
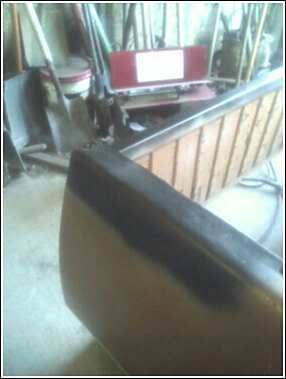
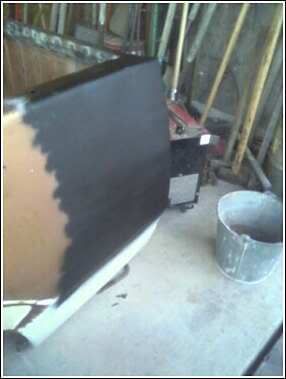
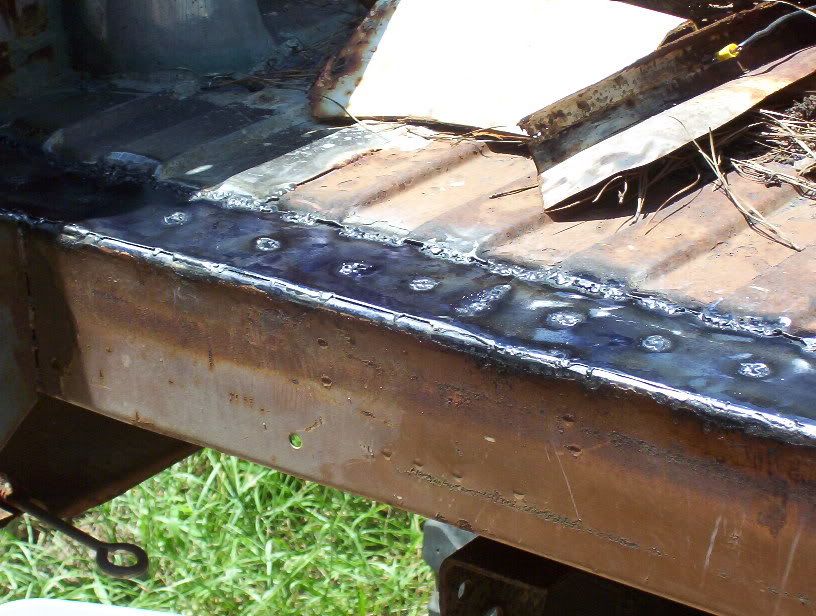
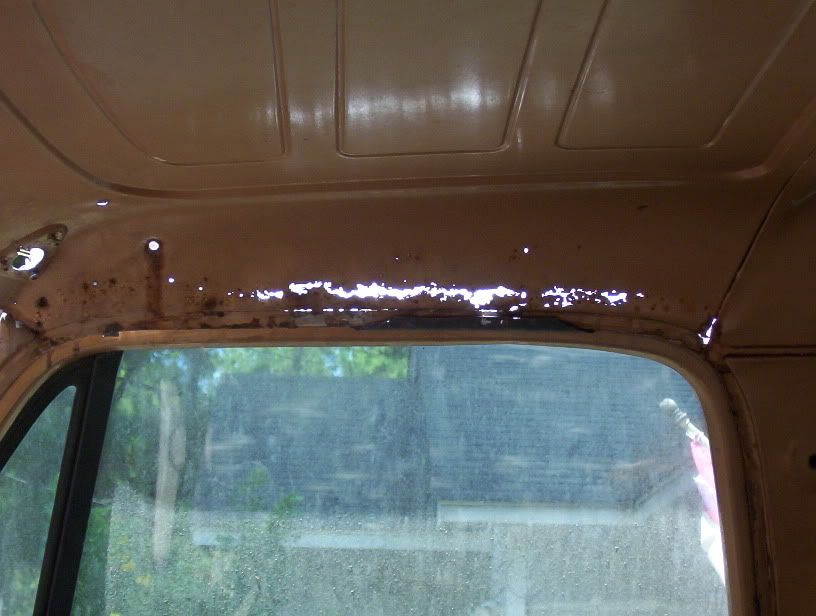
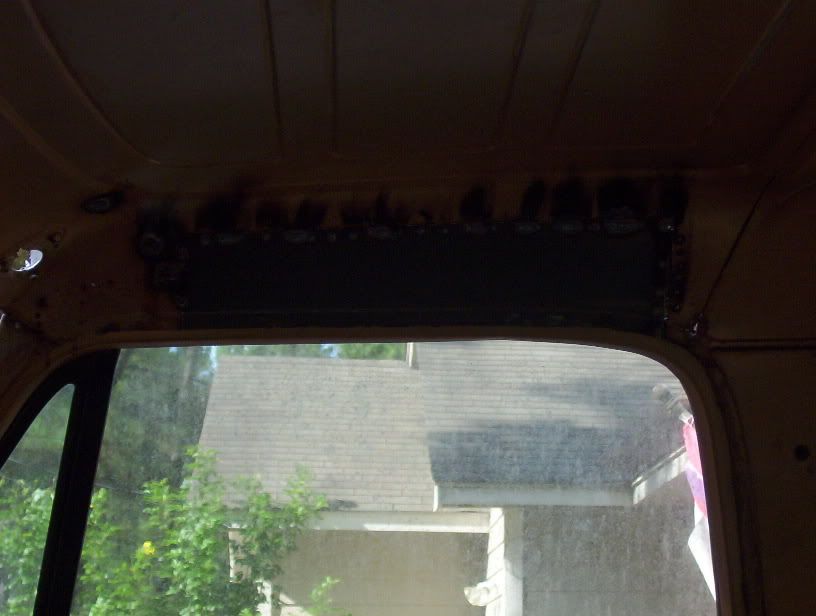
    Since I wasn't making much money at the time I did this I used the floor of a ramcharger that was scrapped out as my patch panels.


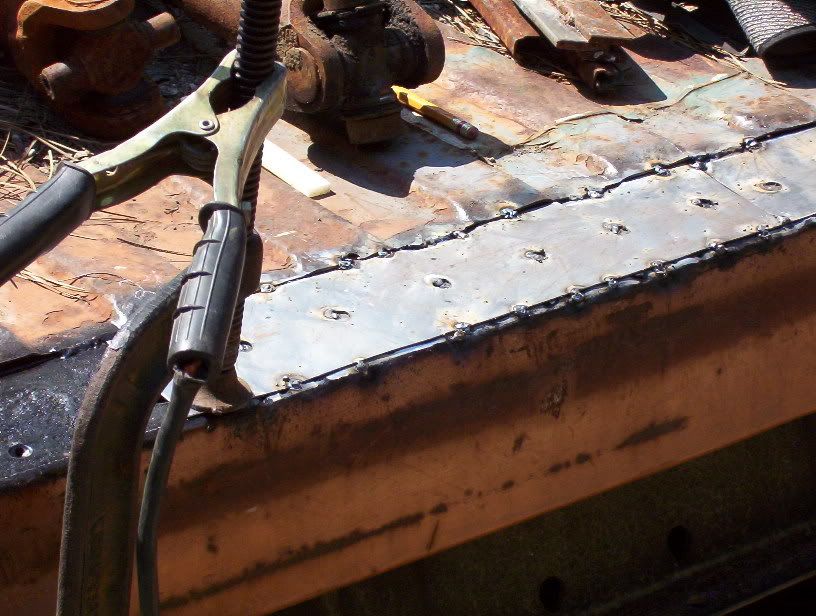
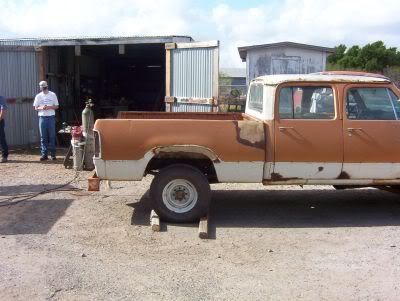
    And I used it in the back of the bed too.


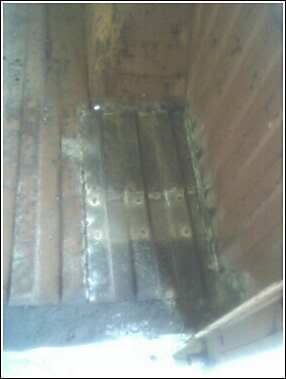
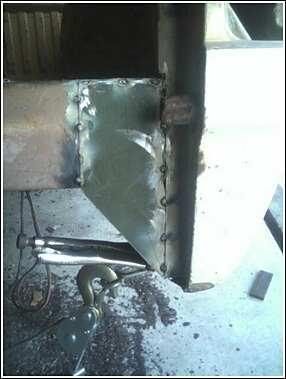
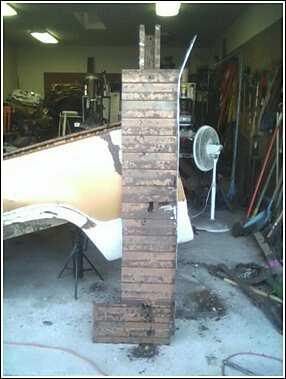
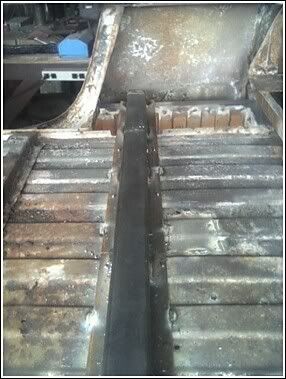
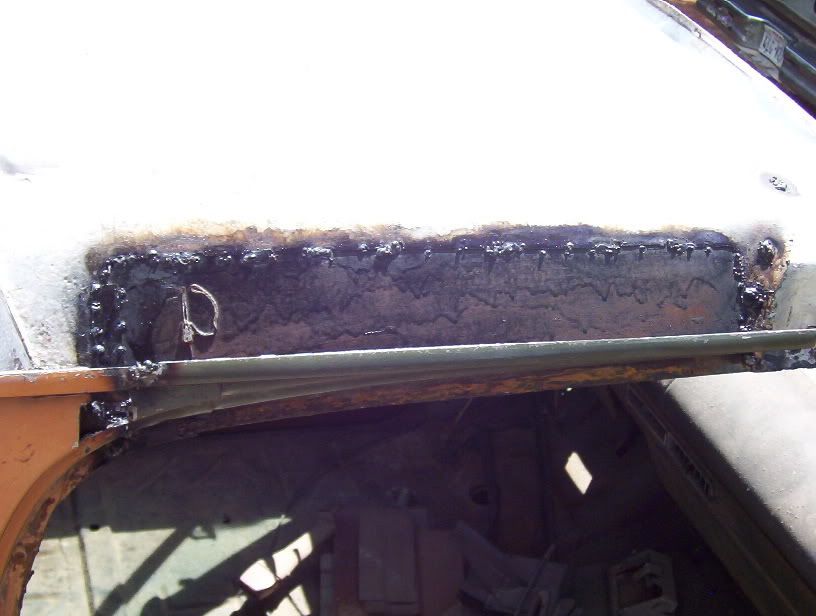
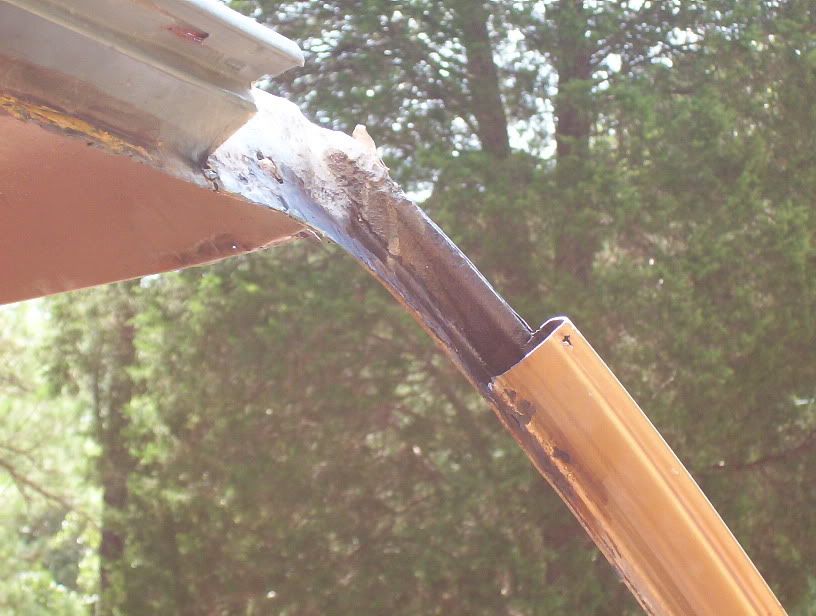
    I also had to build these nifty little brackets because the back of the bed was no longer welded on at all and would wobble all over the place. Once I did that it because nice and sturdy.
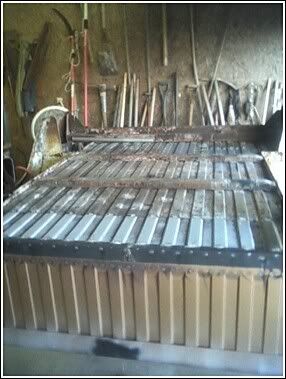
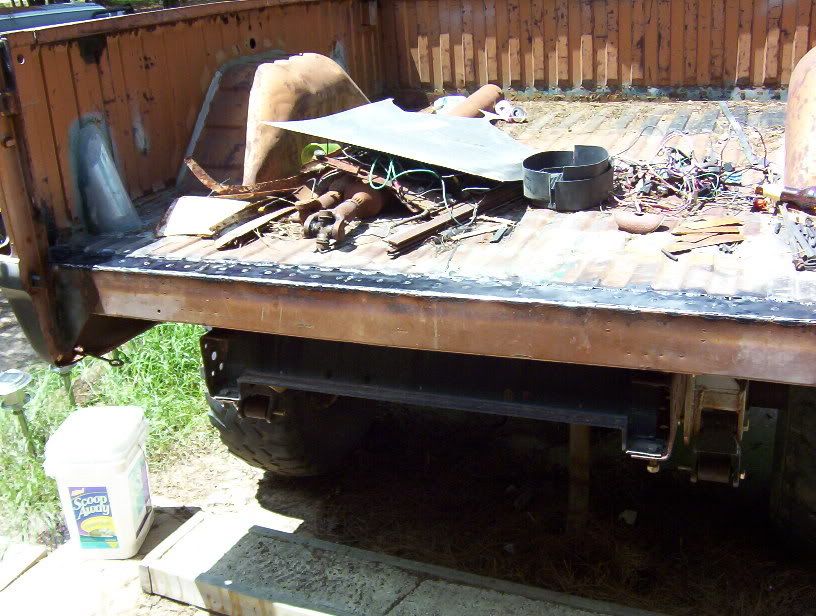
    Comment


    • #32
      Once I completely patched up the rust in the bed I flipped the whole bed over and welded it from the bottom too.


      When I cut the rusted bed out in the front the whole crossmember came out with the panel.


      Since the crossmember came out with the rusted panel and it was already pretty bad off I just went ahead and built me some new crossmembers.

      Comment


      • #33
        I mitered the ends of the square tubing I used for the crossmembers and capped them off.


        And that brings us to today. I had to cut out that flat strip near the tailgate a long time ago because it was rusted beyond repair, so today I was welding in patch panels.


        As you can see from the pics I was cutting strips out of 20 gauge sheet metal with my bandsaw and welding them in on both sides and plug welding them in the middle. I ran out of welding wire so I decided to call it a day there.

        Comment


        • #34
          Since my stake pockets were rusted out beyond repair I just cut them out and welding a patch panel then shaved them smooth.


          Here you can see the dent I had to fix on the passenger side of the bed. The previous owner fixed it by shoving alot of bondo in there, but not painting any of it. When I removed the bondo I discovered that the sheet metal had already oil canned and wouldn't pop back out. I then had to welding a small patch panel and put on a thin coat of filler to smooth it back out.


          This is about the only pic I have of that area before I worked on it.

          Comment


          • #35
            crewcab lift?

            Ramman 4 I see that your Ramcharger has SOME lift. What are your plans for lift on the crewcab? I'm considering putting a 75 w200 crewcab up on power king super lug tires

            Comment


            • #36
              I'm putting a 3 inch body lift and a 4 inch suspension lift on the crew cab so I can clear 37s with my dana 60s. The 4 inch suspension lift is going to be a combination of lift springs and drop hangers. On the rear it's completely stock spring with drop hangers and a shackle flip. On the front its a set of stock springs combined with my old lift springs and a dropped hanger and extended shackle. The amount of lift for the hanger and shackle has yet to be determined because I don't know how much the suspension will squat once I drop that cummins in there. I'm going to be running 37X12.5X16.5R Goodyear Wrangler MTs on aluminum turbine wheels.

              Comment


              • #37
                I commend your Herculean effort in rebuilding this truck but I have to ask. It looks like you had a good donor roof so why didn't you cut the old one off at the pillars and weld on the donor as one piece? I realize it's tough to get the openings correct but that's just measuring and alignment but wouldn't it have been less work with better results? Don't take this as a criticism I'm just trying to understand your plan. Keep up the good work and I hope it all comes together.

                Comment


                • #38
                  I figured it would actually be harder that way with getting the roof to line up and all the doors to fit properly. It might have been easier. Too late now. This way allows me to slip some good sound proofing material in between the roof panels and run all my wires up inside the roof easily.

                  Comment


                  • #39
                    Welding the complete roof in would have been easier.

                    I have done a stack of them and generally the fit is as good or better than stock. just leave the doors in and grind the posts until things line up . Some folks will fish plate or add tubing to the insides of the posts. Another way to do it is to remove a bit of skin whereever there is a double layer . Weld the inside first and then the outside.

                    You took the tougher route . I must be getting old I try the other way these days.

                    Perhaps you have created a convertable? Just add a PT cruiser soft top . Should bolt right up .

                    Bruce

                    Comment


                    • #40
                      You are doing some great work there. That may be the most rotten, rusted truck I have ever seen. I can't wait to see your photos of the finished project.
                      Jeff

                      Comment


                      • #41
                        LOL. You are not the first to suggest making that into a convertable. I just can't see driving a convertable crewcab expecially one with a headache rack and a tool box in the bed.

                        Comment


                        • #42
                          The inside of the bed is now 100% complete. I got the last of the strips welded in today. Tomorrow I should move on to the roof line disaster.


                          Comment


                          • #43
                            All I can say is WOW!

                            I am in awe of the amount of work you have done to that truck. I would have run away screaming from something that rotten. This should be quite a looker once you are done with it. Thanks for bringing it out for us to look at. I am curious to see what the end result is. Should be a real unique truck.

                            Comment


                            • #44
                              I got some roof work done today. I got one door almost finished, only 3 left to go. I was originally going to cut out small patch panels, but decided the **** with it and just cut the rust out rain gutter and all.


                              Comment


                              • #45
                                You can see the before and after here. And yes, I made sure the door closed properly before I welded it up.


                                And here's how I fixed that rotten A pillar. I cut it down til I got to clean steel, wire brushed the inside and hosed it down with rust converting paint.

                                Comment

                                Working...
                                X