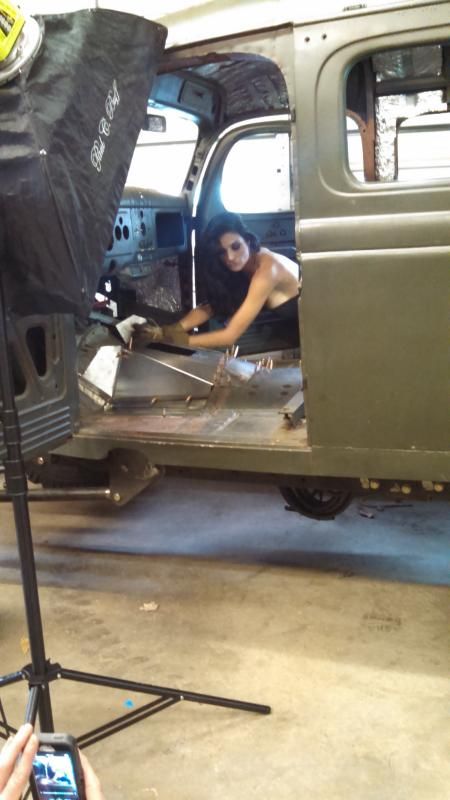
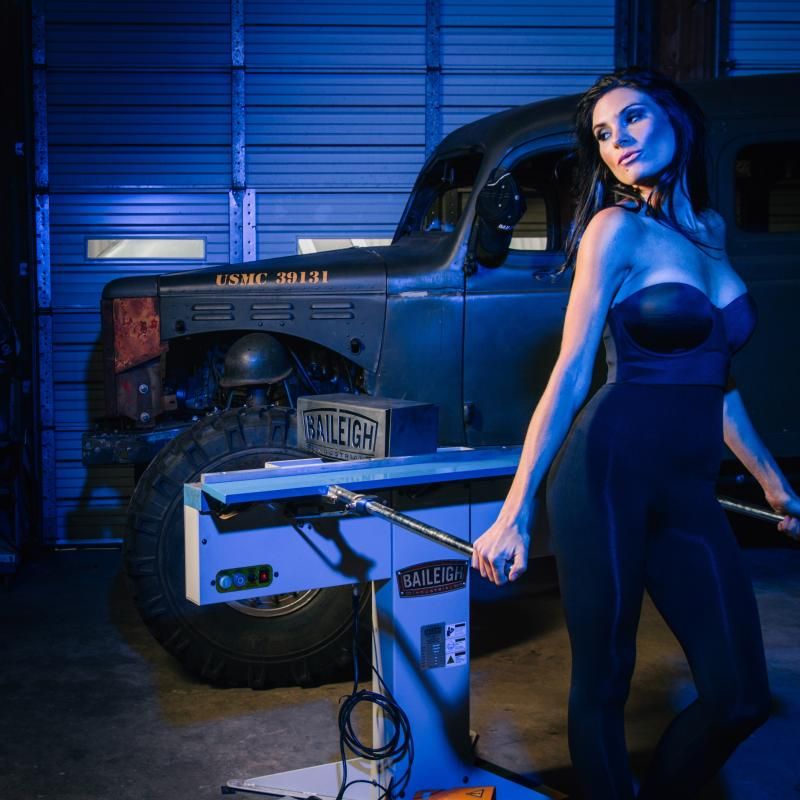
Announcement

Collapse
No announcement yet.

The WC53 Carryall thread .

Collapse
X
 
  • Filter
  • Time
  • Show
Clear All
new posts

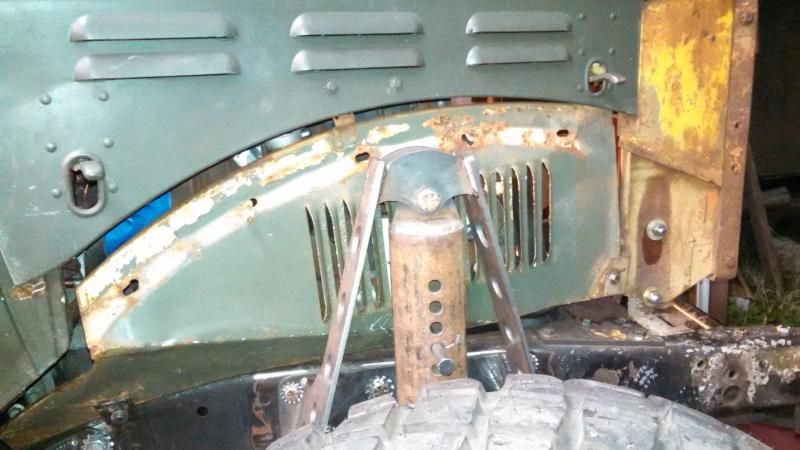
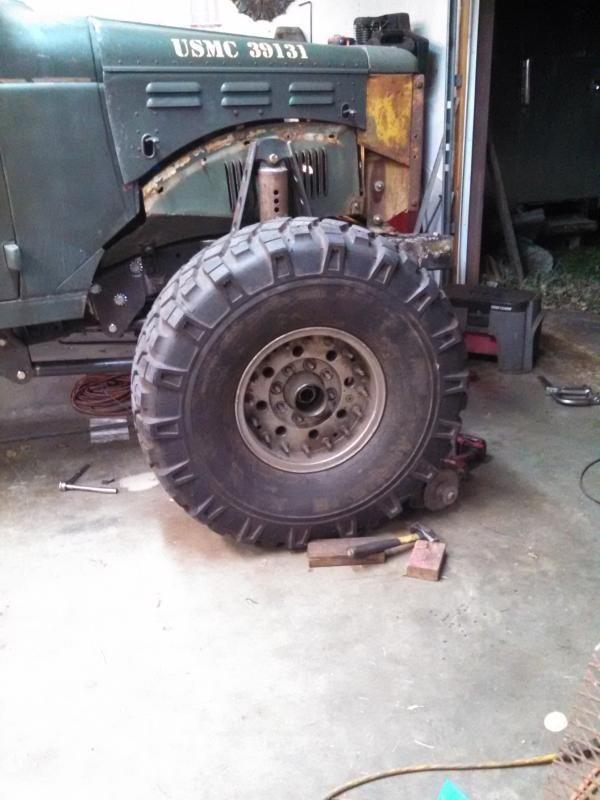
  • In regards to the single mount on the transmission, I was advised to avoid that with the 4bt engines due to the torque and shake. This coming from a friend of mine who has put them in hot rods, trucks, suburbans, etc. He was even a little concerned about my mount which is using the two front corner saddle mounts and then the SAE bell mounts to a single transmission mount. I'm honestly somewhat regretting my use of the ISB170 over just a run of the mill 4bt. Between the wiring, rear geartrain, and overall increase in size I'm starting to doubt that the increase in torque and extra 50 hp was worth it.

    I have abandoned my transmission / firewall construction process at the moment in order to get a mock-up seat frame built. I don't want to "box" myself out ergonomically with the transmission cover / shifters/ firewall shape/ steering wheel mount and angle.

    I've also started on my designs and layout for my cooling and a/c stuff for up front. 10 lbs of stuff in a 5lb sock. Since my engine is an 8 groove serp, I only have one option on compressors and thats the BIG Sanden, so I am going to be ordering one of those here soon so that I can get all the accesories mounted up before commiting to my radiator design (custom, just live every other dang thing on this truck).
    1942 WC53 Carryall in progress.

    Comment


    • Originally posted by Alxj64 View Post
      I've also started on my designs and layout for my cooling and a/c stuff for up front. 10 lbs of stuff in a 5lb sock. Since my engine is an 8 groove serp, I only have one option on compressors and thats the BIG Sanden, so I am going to be ordering one of those here soon so that I can get all the accesories mounted up before commiting to my radiator design (custom, just live every other dang thing on this truck).
      Isn't that the truth, I always seem to be 1/4" bigger or closer than I want to be. Which is almost more frustrating then just not fitting at all.

      As for the compressor, the 4BT uses the same 8-groove (at least mine did), but I still went with the smaller compressor and just used a 7-groove belt on the 8-groove pullies. Don't think the extra groove is going to be a major issue, but I have wondered if it's possible to put the pully from the BIG Sanden on the smaller ones, especially if my alternator wrap ends up being a little too small.

      Then again, you have a lot more interior volume than I do, so you might actually need the bigger compressor.

      Comment


      • Oh dear, sounds like all our builds are suffering from the same issue.

        Everything "ALMOST" fits. What both of you have to say is dead on .
        Hopefully some of you learned from my mistakes and others will learn from yours.

        Progress - I got the tail lights mounted. I am now messing with some sort of turn signal compromise.

        My replacement light switch arrived from American Autowire - darn fast on their part. No hassle, no argument, quite up front.

        Alex - what sort of seat are you thinking of using? I am about to hit that wall as well.

        I went and looked at this machine today. I would buy it but it is missing a 4 jaw chuck and a steady rest. Piles of bits, reamers , and a weird chuck that holds collets, might be able to do some minor milling with that set-up.

        $3000.oo 220 1ph Colchester Student - The PW of lathes.
        Attached Files

        Comment


        • Any other a/c mount will squeal, you really want to make one of these. Even the factory mount I had squealed. Credit to dan mininger- best of luck to all
          Attached Files

          Comment


          • Air intake box... and water... I asked this on the other DPW board and am expecting a few mixed and "you're a dumb dumb" responses but figured I'd bounce it over here too.

            If I were to build a square shaped air box that is tight against the inner fender and draw through the factory louvers.. am I going to kill an air filter when it rains and I am driving? How much water is slung through these inner fenders when driving? I just really don't want to draw in any under hood temp air, especially during the summer which will just make all of the systems work twice as hard, especially the charge air system. I thought about using the side hood louvers instead but not sure if thats enough surface / open area to get the air I need (not to mention the dirt thats going to build up similar to a ceiling fan blade in a shop ceiling). The inner fender intake would be perfect it seems, aside from my rain concern, which I don't plan on driving it in the rain but I know that at some point it will happen for sure. I am just trying to imagine in my head the amount of water that would be spun from the tire and then pulled into the air box. My design of the air box would also have an additional "up-draft" plate with a few drain holes that will force the water to have to go up and over a wall before coming into contact with the filter material. My intention is a square flat filter element similar to what is found under the hood of the stock late model Dodge trucks / Jeeps.


            1942 WC53 Carryall in progress.

            Comment


            • Hmmmmmmmmm

              What if you built a little scoop on the outside of those louvers. Kind of a ram air scoop. Have a small 1/2 inch hole on the bottom for a drain. I think that would work just fine. As to under the hood air being able to exit, I have not got a clue , but considering the box vans have no venting except for what will go under the chassis I think you and I are going to be fine. Worse comes to worse you might have to run that hood down to a hot rod shop and have a row of louvers added down the top.
              I was thinking about running a snorkel and have considered using one of the truck canisters that sit on the fender. Short term I will just go with a filter under the hood but long term I want cool fresh air.
              I am messing with my fuel tank filler hose. Nothing is easy with this one.

              Bruce

              Edit: you can also add more louvers to the side panels to exit more air.

              Comment


              • Still no brakes, nada, zip, zero.

                Turned the steering wheel lock o lock about 20 times, fired up the truck and cycled through the same thing again. Chev master cylinder and hydroboost. No air noted in remote reservoir but my brake pedal is slow two return, about 5 seconds. I could not feel that I had any brakes at all. Not even a little burp of fluid in the master cylinder. I disconnected the return line and ran the fluid into a container- the brake pedal still returned slowly. Lots of foam in the return line but the level of fluid dropped in the reservoir, pump may have got some air in. No changes as to having any brakes.
                So something is not right. This is so not fun. If I had a little bit of brake feel I would have an idea of what to do.
                and on we go.

                take care out there
                Bruce


                edit: also I just found out that ARB uses metric air line. Trouble with metric line is I want to use 1/4 DOT line. I have two dual PSI gauges and one single PSI gauge and two manual air control valves that I wish to use. I see no easy way to connect the metric fitting to the 1/4 line.

                ggrrrrrrrrrrr

                Comment


                • ARB metric air line to imperial conversion

                  There is nothing wrong with using the ARB switches and lines. At times I make decisions that are counter productive or seem that way. Only time will tell if this is one of them . By converting to standard I will only need one size of line in my truck. By switching to manual toggle switches the truck retains some of its old time flavour and I like the look over the modern rocker switches.
                  The downside to this arrangement is I will be running air lines under the dash. Airlines are bigger and not as flexible as wire.

                  Picture (1) shows a parker female fitting that will screw into the ARB fitting at the differential.

                  Picture (2) shows the installed fitting.

                  If you wanted to eliminate one fitting you could use a parker male fitting and covert the threads to the same style that ARB uses- it is real close to 3/8 fine thread.

                  edit: no progress on the brake problem. I ordered a rebuild kit in for the hydroboost, the one in my truck was a temporary unit and I was going to put in the original one at some point. (I like it better because of how the input rod is designed. There are a few differences amongst these units).
                  Attached Files

                  Comment


                  • My truck went on a little adventure this past weekend. Out of the garage and down the road to another shop to hang out with a big mud racing truck project... and pose as a back drop for some excellent photos taken by my wife. I'll post a few of the final ones here as well. Hers are much better than my stalker-ish cell phone pictures.


                    1942 WC53 Carryall in progress.

                    Comment


                    • Looking good.

                      What is the deal with the army helmet? She should be wearing it. One of the hot rods up here has used world war one helmets as the scoops on the back of his front brakes. It looks really good.
                      I built a air log junction block thing a muh jiggly for under the dash. One line to supply air, five lines to different things. This will clean the under dash spaghetti up a little bit. I may have to run a second small supply line for the tank pressure gauge. The main line to the dash will be regulated and filtered.
                      Neat to see a vehicle when it gets moved from one spot to another. Kind of gives you a new perspective.
                      That shop is too darn clean. Where is the dust bunnies? Where are the spiders, their webs, the dead corpses of desiccated sow bugs? Why are the windows not covered in welding flash? The floor does not even have an old puddle of dried oil that is loaded with 20 years of captured dirt.
                      A crap free shop….who would have thunk it?

                      edit: I see one dust bunny.

                      Comment


                      • Originally posted by Bruce in BC View Post
                        What is the deal with the army helmet? She should be wearing it. One of the hot rods up here has used world war one helmets as the scoops on the back of his front brakes. It looks really good.
                        I built a air log junction block thing a muh jiggly for under the dash. One line to supply air, five lines to different things. This will clean the under dash spaghetti up a little bit. I may have to run a second small supply line for the tank pressure gauge. The main line to the dash will be regulated and filtered.
                        Neat to see a vehicle when it gets moved from one spot to another. Kind of gives you a new perspective.
                        That shop is too darn clean. Where is the dust bunnies? Where are the spiders, their webs, the dead corpses of desiccated sow bugs? Why are the windows not covered in welding flash? The floor does not even have an old puddle of dried oil that is loaded with 20 years of captured dirt.
                        A crap free shop….who would have thunk it?

                        edit: I see one dust bunny.
                        Ha, we cleaned that shop for two days...err well my buddy and his girl did; but yea its certainly cleaner than its ever been, thats for sure. The helmet was a score from the bed of a pickup truck that came into their shop in a repo. The truck, as well as the helmet, are pretty decrepid. The truck was just a rusted out '80s C10 so nothing to write home about but in the bed was a pile of random stuff and the helmet was one of the things. Its just hanging out in the background for the sake of the photoshoot to convey the "military" aspect of the truck. The photo shoot was for a shop tool contest. Already looking like our efforts may have been out of the "comfort realm" of what the company is looking for in their "marketing model".
                        1942 WC53 Carryall in progress.

                        Comment


                        • Ebay carryall 2500

                          looks like it was an excellent body before it got torched.

                          edit: there is a second one up for bids too. It is the diesel one that is desert sand colour and on Utube. Bid is 16000 at this time. Stock axles.
                          Attached Files

                          Comment


                          • Mucking about in all directions

                            While I was waiting for my hydroboost rebuild kit to arrive via USPS the wiper shafts arrived in the mail.
                            Instead of a piece of round pipe or billet drilled out for the shaft I wanted to try something a little stronger and less likely to work loose. This is my first attempt. The adapter is cut at an angle. this is done to get the wipers to line up with the plain of the window. It does not line up but it is about 70% closer than without the adapter. There are two stews that help locate index the parts and prevent them from rotating. In addition to the little screws is a 11/16 nut that squishes everything together. If this works loose I will hammer form a similar piece out of sheet metal and weld it in place.

                            photo one is the block of aluminum with the parts mostly cut and drilled .
                            photo two is the part held in place.

                            I am leaning towards cable operated wipers.
                            The wiper shafts are for a rep Van. They stick out too far and look out of place but they are heavy duty.
                            Attached Files

                            Comment


                            • I like it, the angle thing was something I didn't really tackle, and it's not been a big deal for my setup so far but it does look a little odd to the trained eye.

                              My biggest issue right now is the wiper arms. I had picked up an adjustable "universal" arm for various antique applications, it goes out to about 12" which works with an 11" blade. Problem I ran into is that it uses two different wiper mounting options but both allow way too much slop at the connection and I don't like how the blade flops back and forth.

                              I tried using a Jeep arm for the same application as the wiper pivots, and the length is fine, but they have the same ends and hence the same issue. It works but I need to go wander through a junk-yard and see if I can find a vehicle with the same 1/2" mounting style that uses a more modern blade attachment. Worst case scenario I will have to shorten it, I don't think the arms are made of spring steel or anything special so I should just be able to cut and weld them. I have an 11" blade that will work on a modern arm with most mounting types.

                              Comment


                              • Sounds like someone needs to jump into the market building resto-mod wiper blade kits for these things. I hadn't even started to think about the wiper setup on my truck.

                                I will leave you this here though... There is a Dodge in the background I think....

                                1942 WC53 Carryall in progress.

                                Comment

                                Working...
                                X