Announcement

Collapse
No announcement yet.

Power Wagon mud race truck build

Collapse
X
 
  • Filter
  • Time
  • Show
Clear All
new posts

  • #46
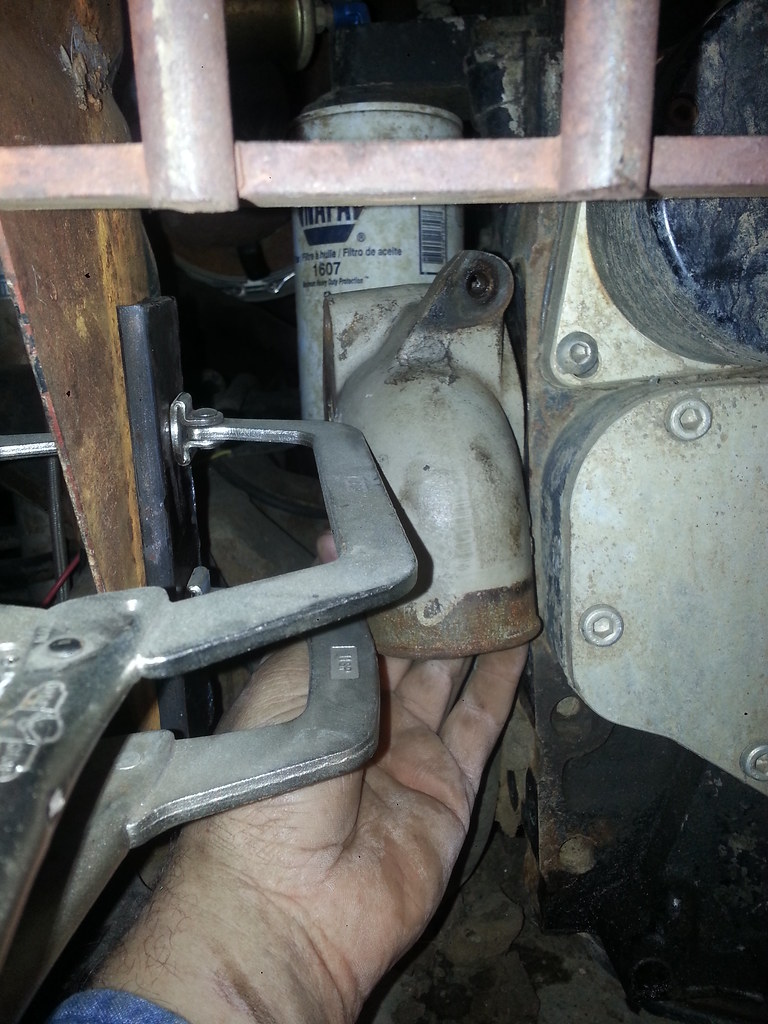
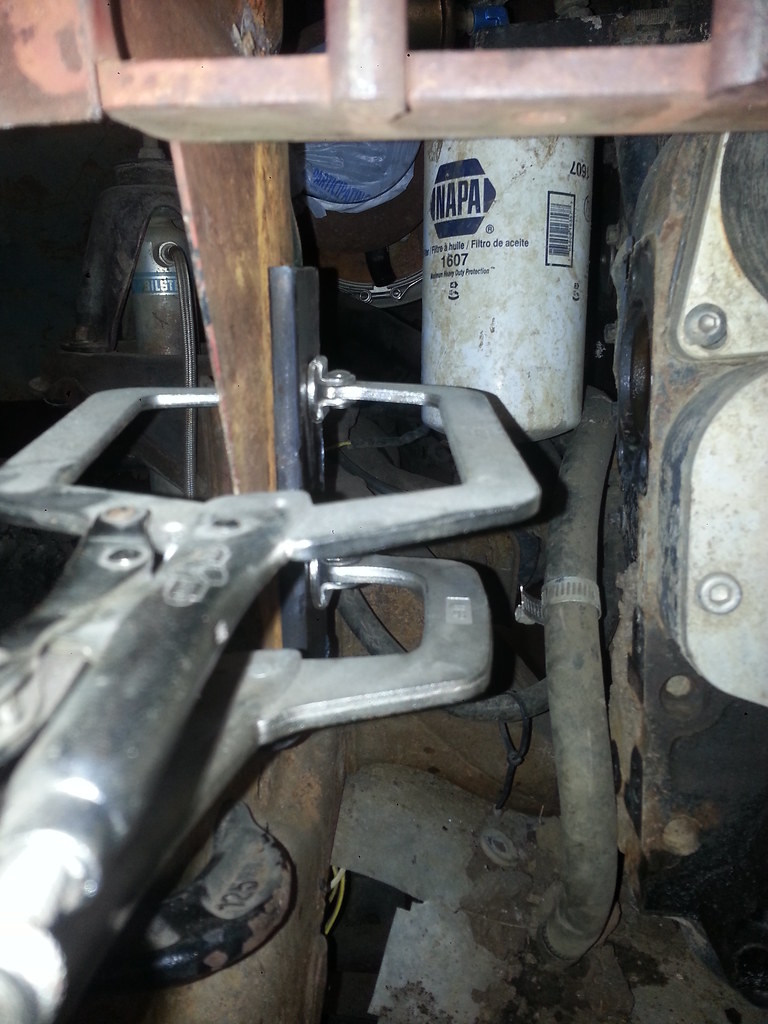
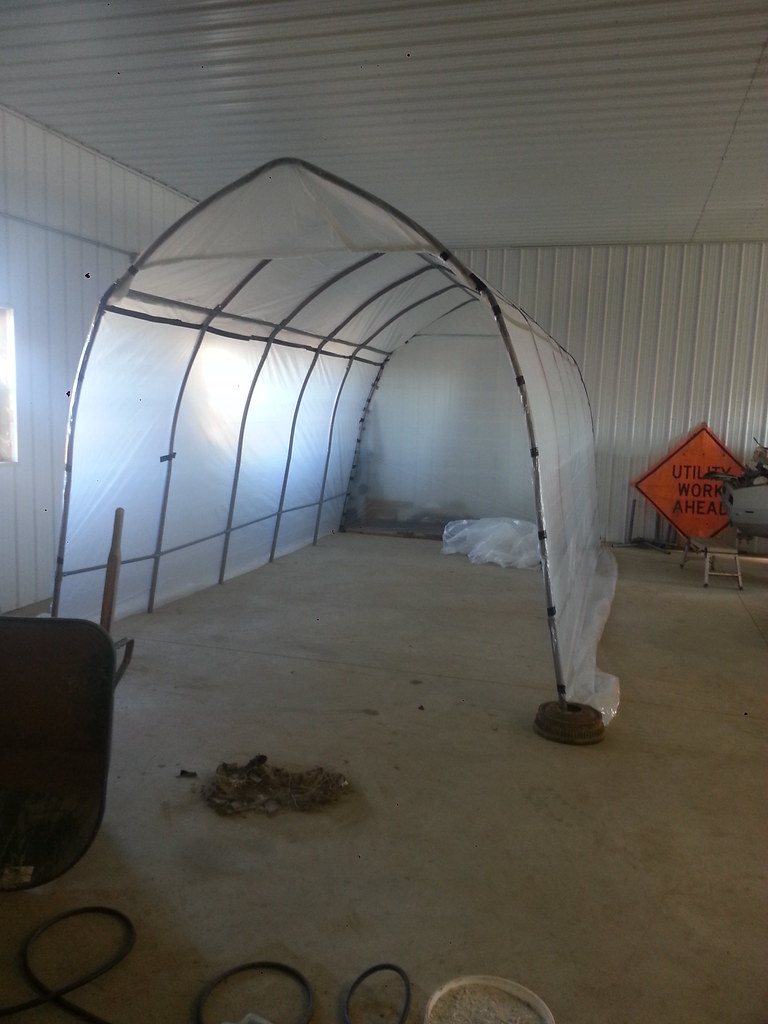
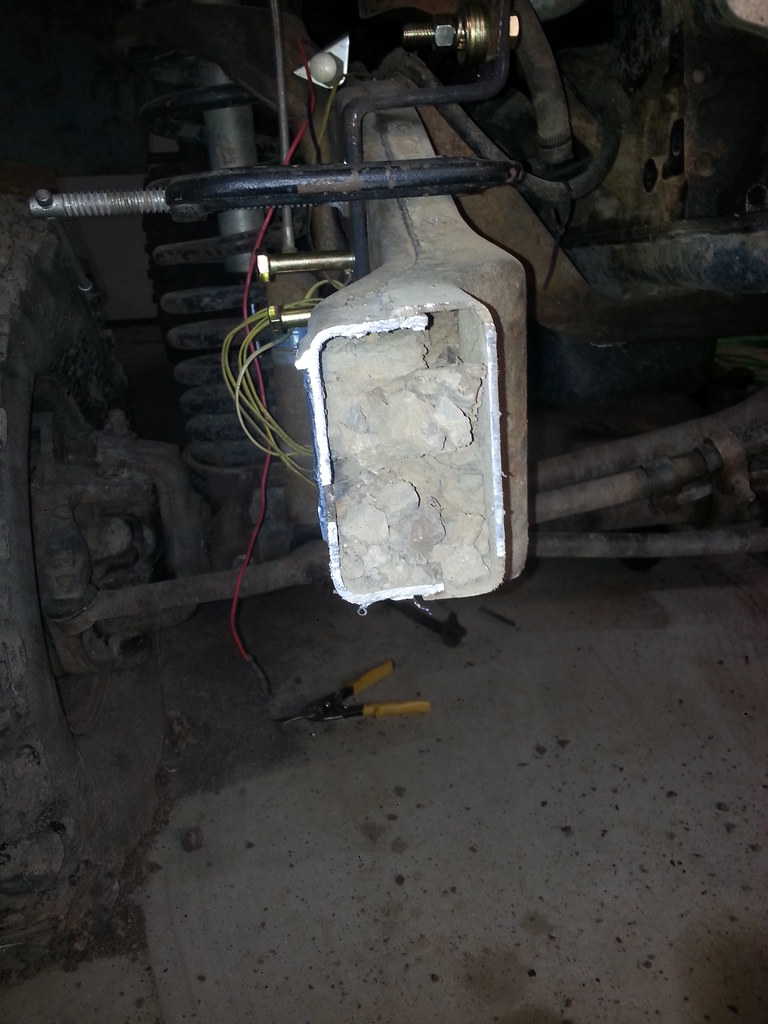
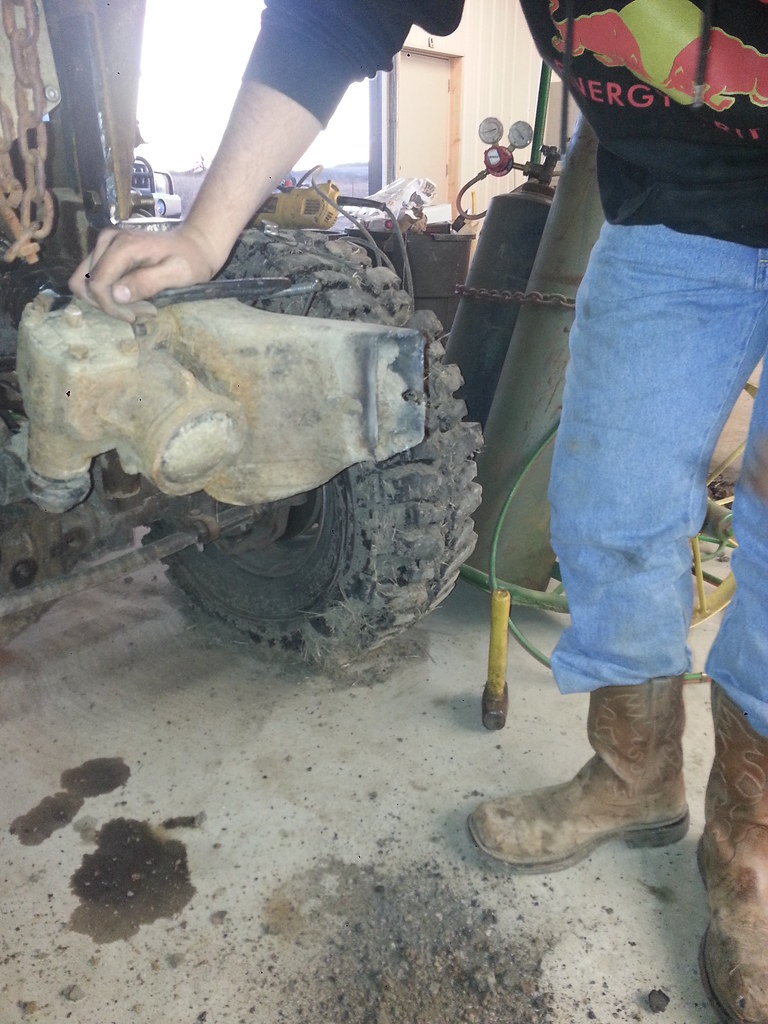
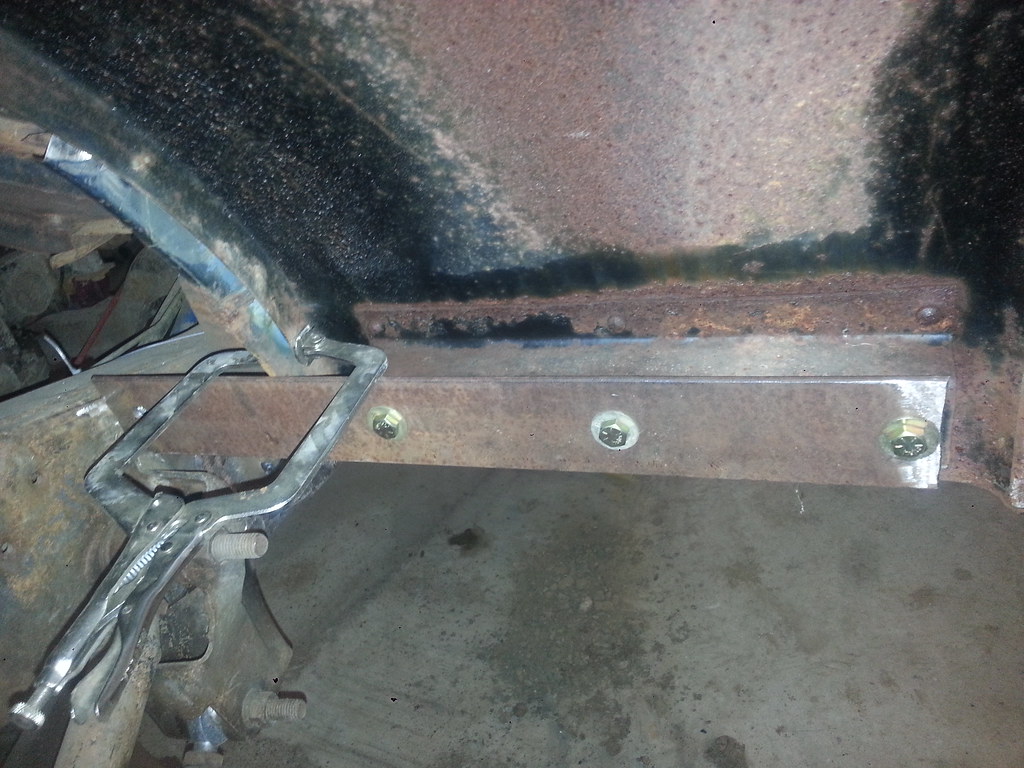
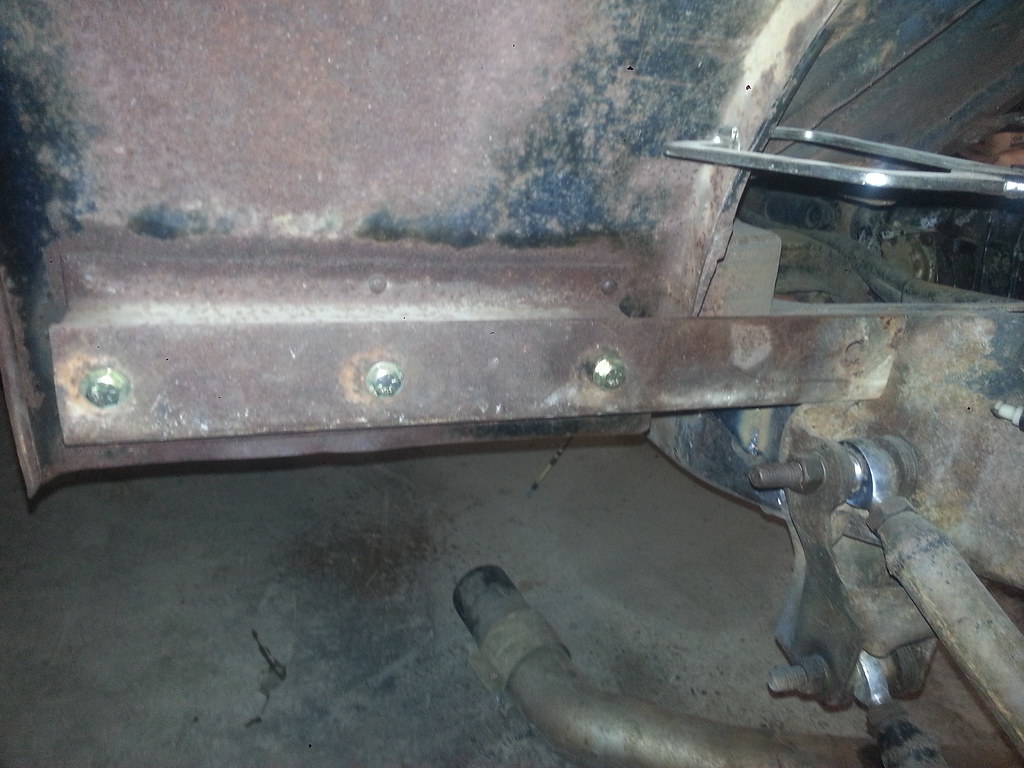
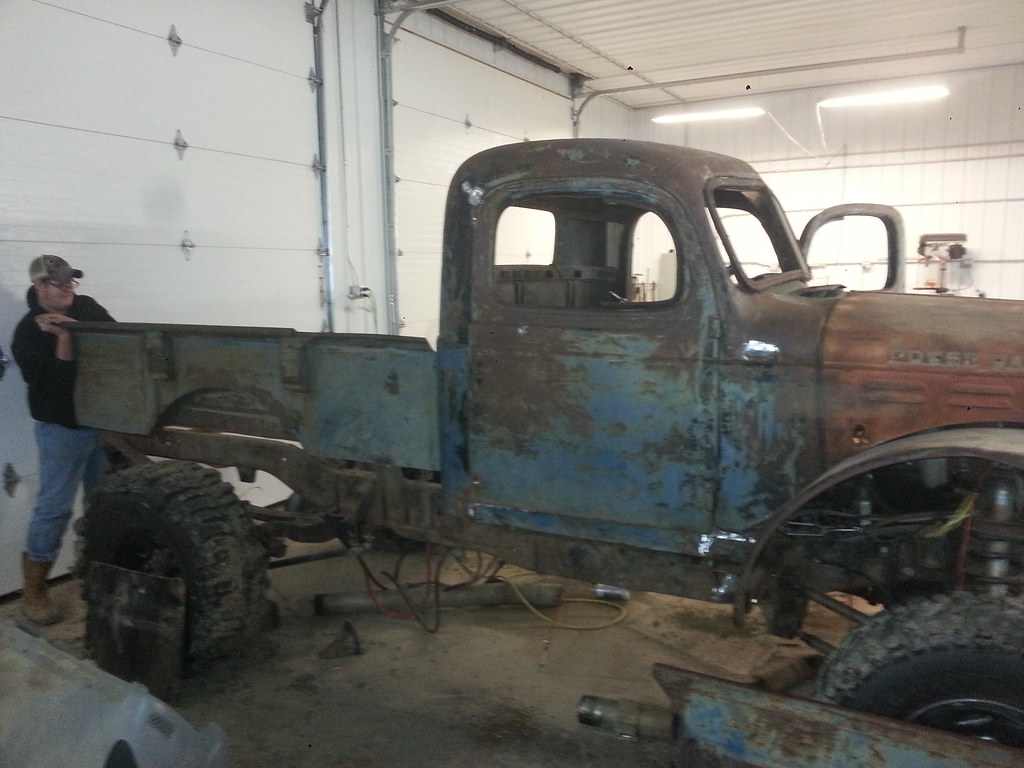
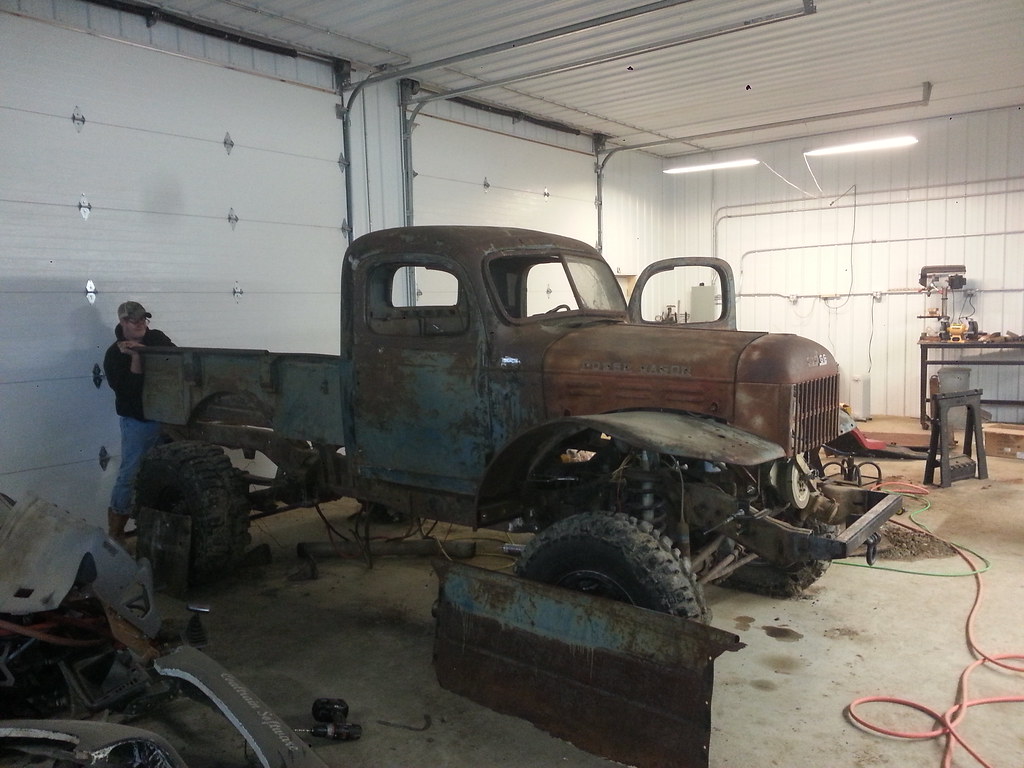
    The new one held in place, lots of room left...


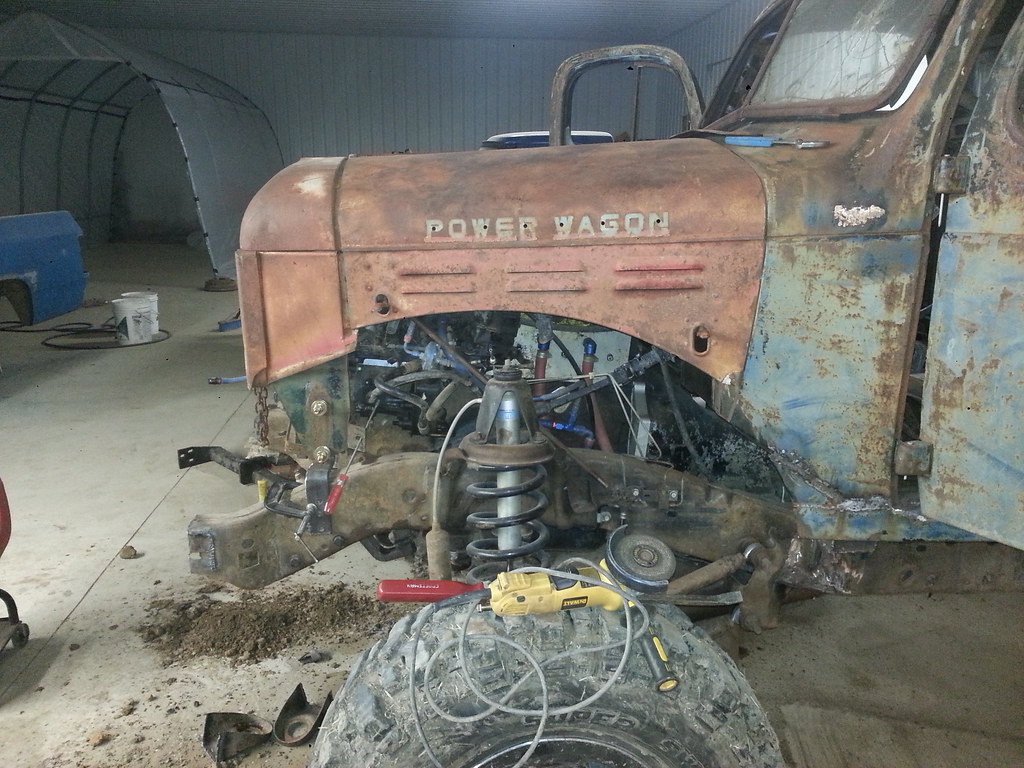
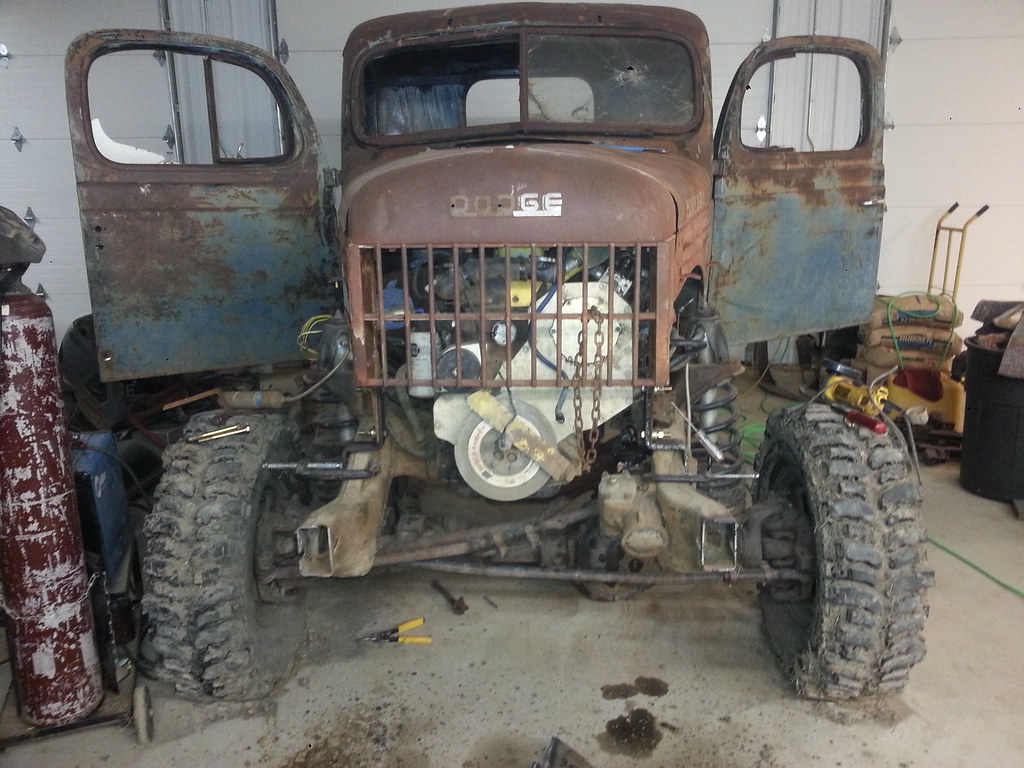
    Also today, I cut a 2" wide strip off of my sheet of 3/8" plate slab to start making the brackets for the front grill.
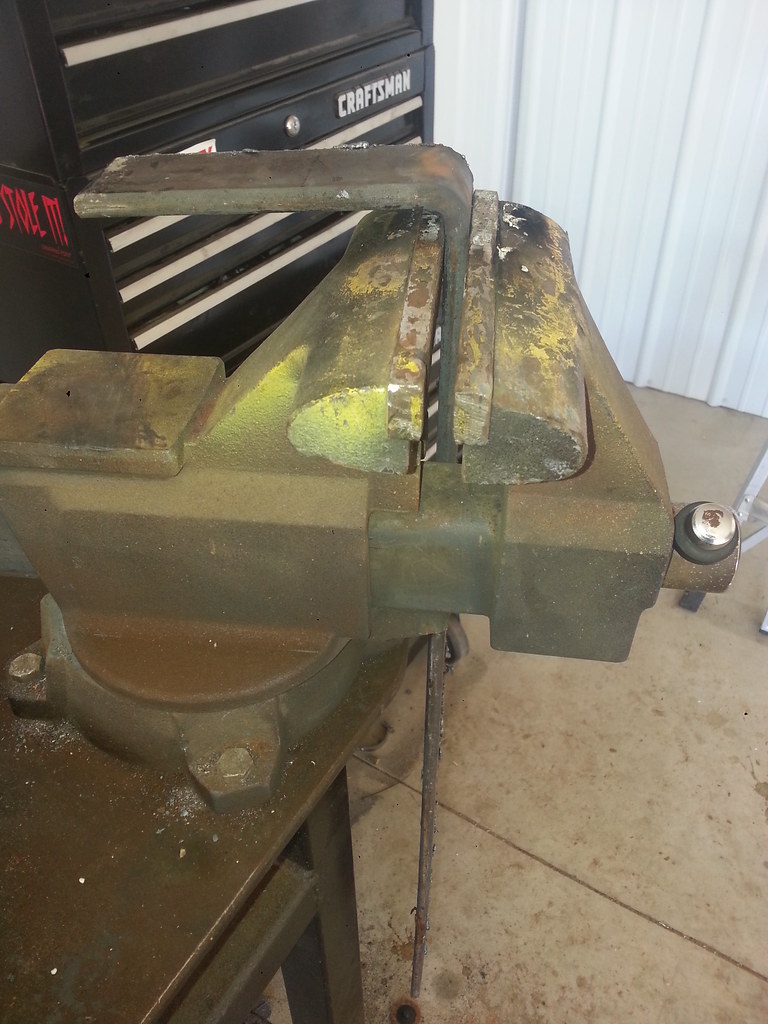
    First bend complete using a big arse crescent and my cutting torch

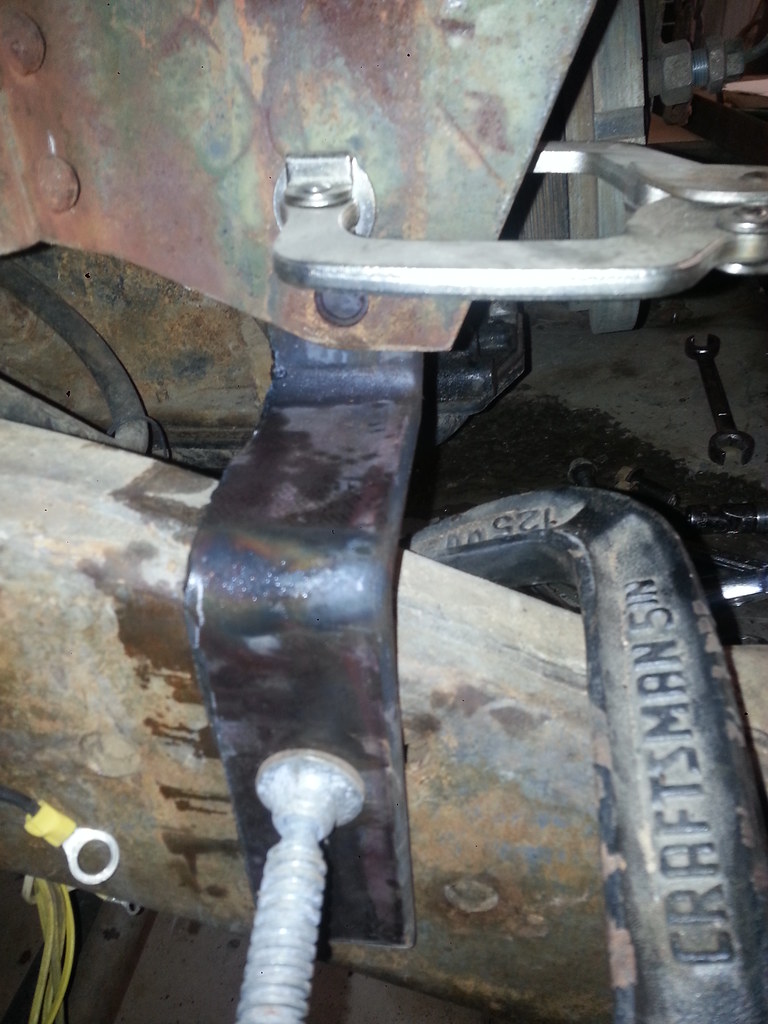
    Here it is with the second bend and held in place where it will be installed
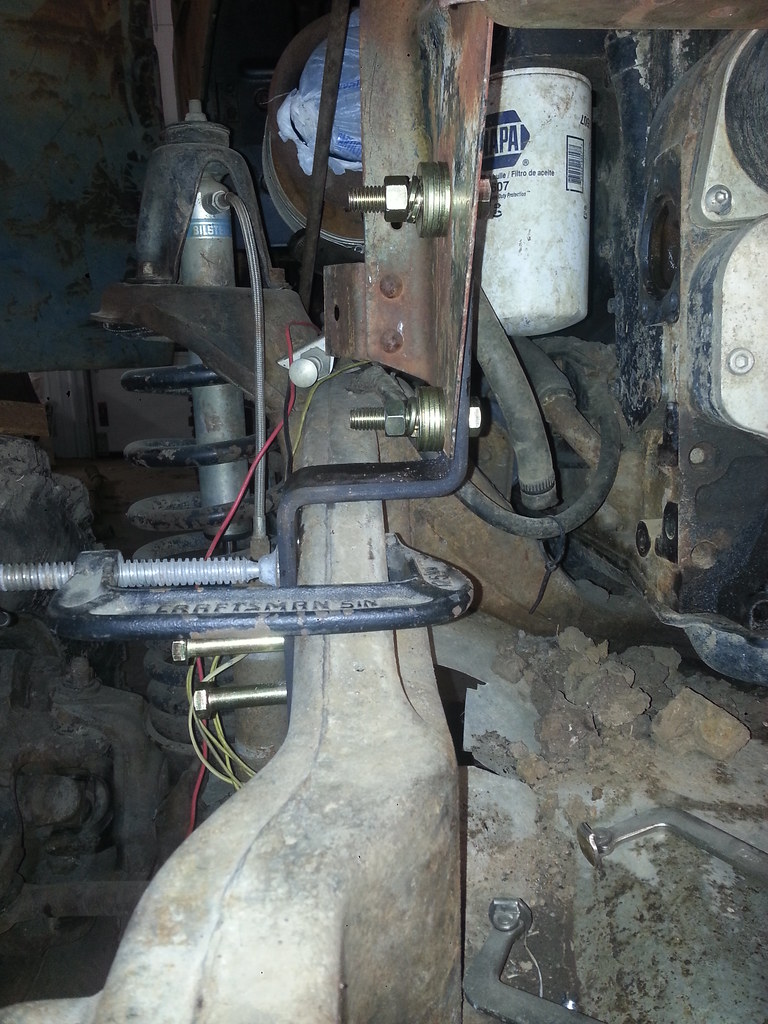
    Comment


    • #47

      Bolt holes are marked for the grill, I'll pull it off tomorrow and drill the holes on my drill press tomorrow hopefully.

      Comment


      • #48
        Worked quite a bit today out in the shop and accomplished a little bit. We put more plastic up on the paint bay and spread it out as far as I could get it. It's 11 feet wide now. Hopefully I'll have enough room in there to paint the my son's truck. Still need to pick up some pvc pipe and a few fittings to put the front doors on the paint bay and work on the ventilation system for it.


        My son working on stripping the 93 d150 so we can get the cab off of it and roll the frame out of the shop.

        Comment


        • #49
          I finished making the two support brackets out of the 3/8" strips of plate steel and drilled all the 1/2" holes I needed in them. I do need to pick up some shorter bolts, I'd bought those bolts when I thought I was going to be using the 2x3 rectangular tubing to make the brackets.

          I cut off the front of the frame and the boxed frame is packed with mud which I figured it would be. I need to figure out how to clean it out and keep the mud out. There are a whole bunch of holes in it.

          Comment


          • #50


            I need to figure out what I'm going to use to make the new cross brace along with the tow clevis in the center. I'm half tempted to just cut the 2x2 square tubing I was using and weld it between the frame rails.

            Comment


            • #51
              Today I was able to get a little accomplished, removed a few broken off bolts out of the drivers side front fender and then mounted the fenders on the front, the backs are just clamped up right now. I've got to trim the angle iron pieces to fit next to the frame and then will have to weld on something to mount the angle to the side of the frame. I think the truck is going to look pretty good


              Comment


              • #52
                The bottom photo is a good view of the stance of it.
                Power Wagon Advertiser monthly magazine, editor & publisher.


                Why is it that the inside of old truck cabs smell so good?

                Comment


                • #53
                  Yeah, I think the truck is going to look pretty good once it's done. After I figure out the rear fender mounts, I've got to start figuring out the bed and what I'm going to do.

                  Comment


                  • #54
                    Spent the day dealing with twisted off bolts in the fenders, drilled them out, easy out the remains and retapped the threads. I finished up and hooked up the upper grill supports. I shortened up the rear fender supports, now I just need to weld them to the frame. They are going to sit right above the rear mounts for the trailing arms.


                    I removed the passenger side window regulator and all the broken glass. I started on the drivers side but it's full of a broken window and taking my time so I don't end up with missing fingers or some such.

                    Comment


                    • #55


                      Comment


                      • #56
                        Think I worked out at least the brake part of the pedals. I've still got to figure out the gas pedal and how it's going to work. I'm having to work around the 3" pipe that will be coming into the cab in the same area that will go out from my water to air intercooler into tube intake.
                        I cut off some of the unneeded stuff from the 96's pedal assembly to make it easier to mount. I've still got to pickup the hydro boost setup sometime.

                        Comment


                        • #57
                          Wasn't able to accomplish much out in the shop, ended up working half a day for work even though I'm on vacation. I hate dumb arses that schedule releases during the holidays.
                          Anyway, we picked up some pvc pipe and fitting and starting laying out the doors for the paint bay. I also picked up two new boxed fans, and filters for the fans and some smaller filters for the air to exit out on the other side of the booth.

                          On the truck, we did some measurements for the bed, trying to figure out what to do with it. Here is what we came up with. I need to shorten the bed up to fit the frame both length and height wise since my frame is shorter and the mounting point for the frame is higher than the cab of the truck. This well get rid of the worst areas of the bed sides that I have rotted away or were screwed up from years of abuse.

                          Comment


                          • #58


                            After I cut it down, I'm going to pick up some thin wall rectangular tubing to recreate the ends of the bed and then close off the steak pockets to keep mud from coming in. I'm also going to pick up some thin wall tubing to continue on the rolled bed where the spare tire carrier would have been if I was building a street truck. I'll use some steel or aluminum sheet to tie the bed rails together and act as a header and tail.
                            Happy new years to everyone that's been following my builds

                            Comment


                            • #59
                              Today I spent some time out in the shop and figured out the bed height and length I needed for the truck. The bed is a long bed, and I needed it a short bed. So I found center on my frame and center on the bed and started measuring.
                              The front half of the bed is 44" from center to front and 39" from center to the back of the bed. Since the 96's frame is higher and I didn't want the top of the bed higher than the line on the cab, I set the height of the bed to be 21" tall. I worked on the passenger side of the bed today and got it cut down and remove a poorly welded piece of metal someone put on both bed sides. I spent forever grinding on the welds to get it off, now I just need to finish getting the welds ground down and beat the few dents out of the fender that are in it from trying to get that plate off.
                              Markings on the bed where to cut.


                              The bed cut down. I cut the bed right at the steak pockets front and back so that I have about an inch and a half on each end so that I can bend them in and use them to attach the front and back panels/braces to them.

                              Comment


                              • #60

                                Here's my son holding up the bed side to see how it's going to look

                                Comment

                                Working...
                                X